Direct Print
In Pipe Flow Expert, when you print a pipe system directly to a printer, only the visible part of image, what is currently displayed in the Drawing pane, is printed.
If you wish to print the entire pipe system, click the Zoom Out button,  , on the toolbar to zoom out until the area you wish to print is visible in the Drawing pane.
The printed image will be scaled to fit on one page by default, but you can customize the scaling using the ‘Scale to fit’ fields. If you want to change the paper’s orientation to landscape or print to a printer other than your computer’s default printer, open the Page Setup dialog and make your selections before printing the pipe system. To access the Page Setup dialog, select Print Setup from the File menu.
Note: As an alternative, for larger higher quality prints of your complete system you can create a PDF image of your system drawing by using the option provided on the file menu.
The PDF drawing can then be printed at a size to suit your requirements.
To print a pipe system directly to a printer:
- Click the Print button,
 , on the toolbar or select File | Print to open the Printing Information dialog.
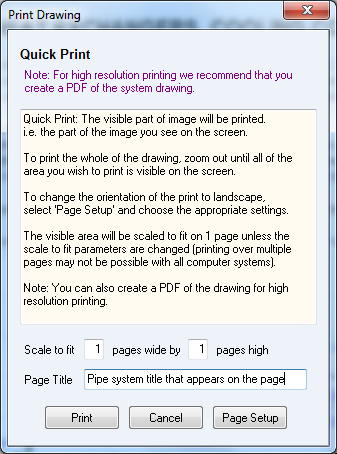
Figure 35 Printing Information dialog
- If you want to change the printing scale, type the number of pages wide by the number of pages high in the Scale to fit fields. Note: Printing over multiple pages requires use of additional memory and problems may arise if your system (and printer) do not have enough memory available. The amount of memory required varies considerably depending on the size and number of items on the drawing that is to be printed.
- Type the title you want displayed at the top of the page.
- Click the Print button to print the pipe system.